
I did it. I made the super cute fruit slice garlands that we all see on social media every fall and winter. Specifically I made apple and orange slice garlands…with mixed results. I’ll share what worked and what I will do differently next time.
Dried Apple Slice Garlands

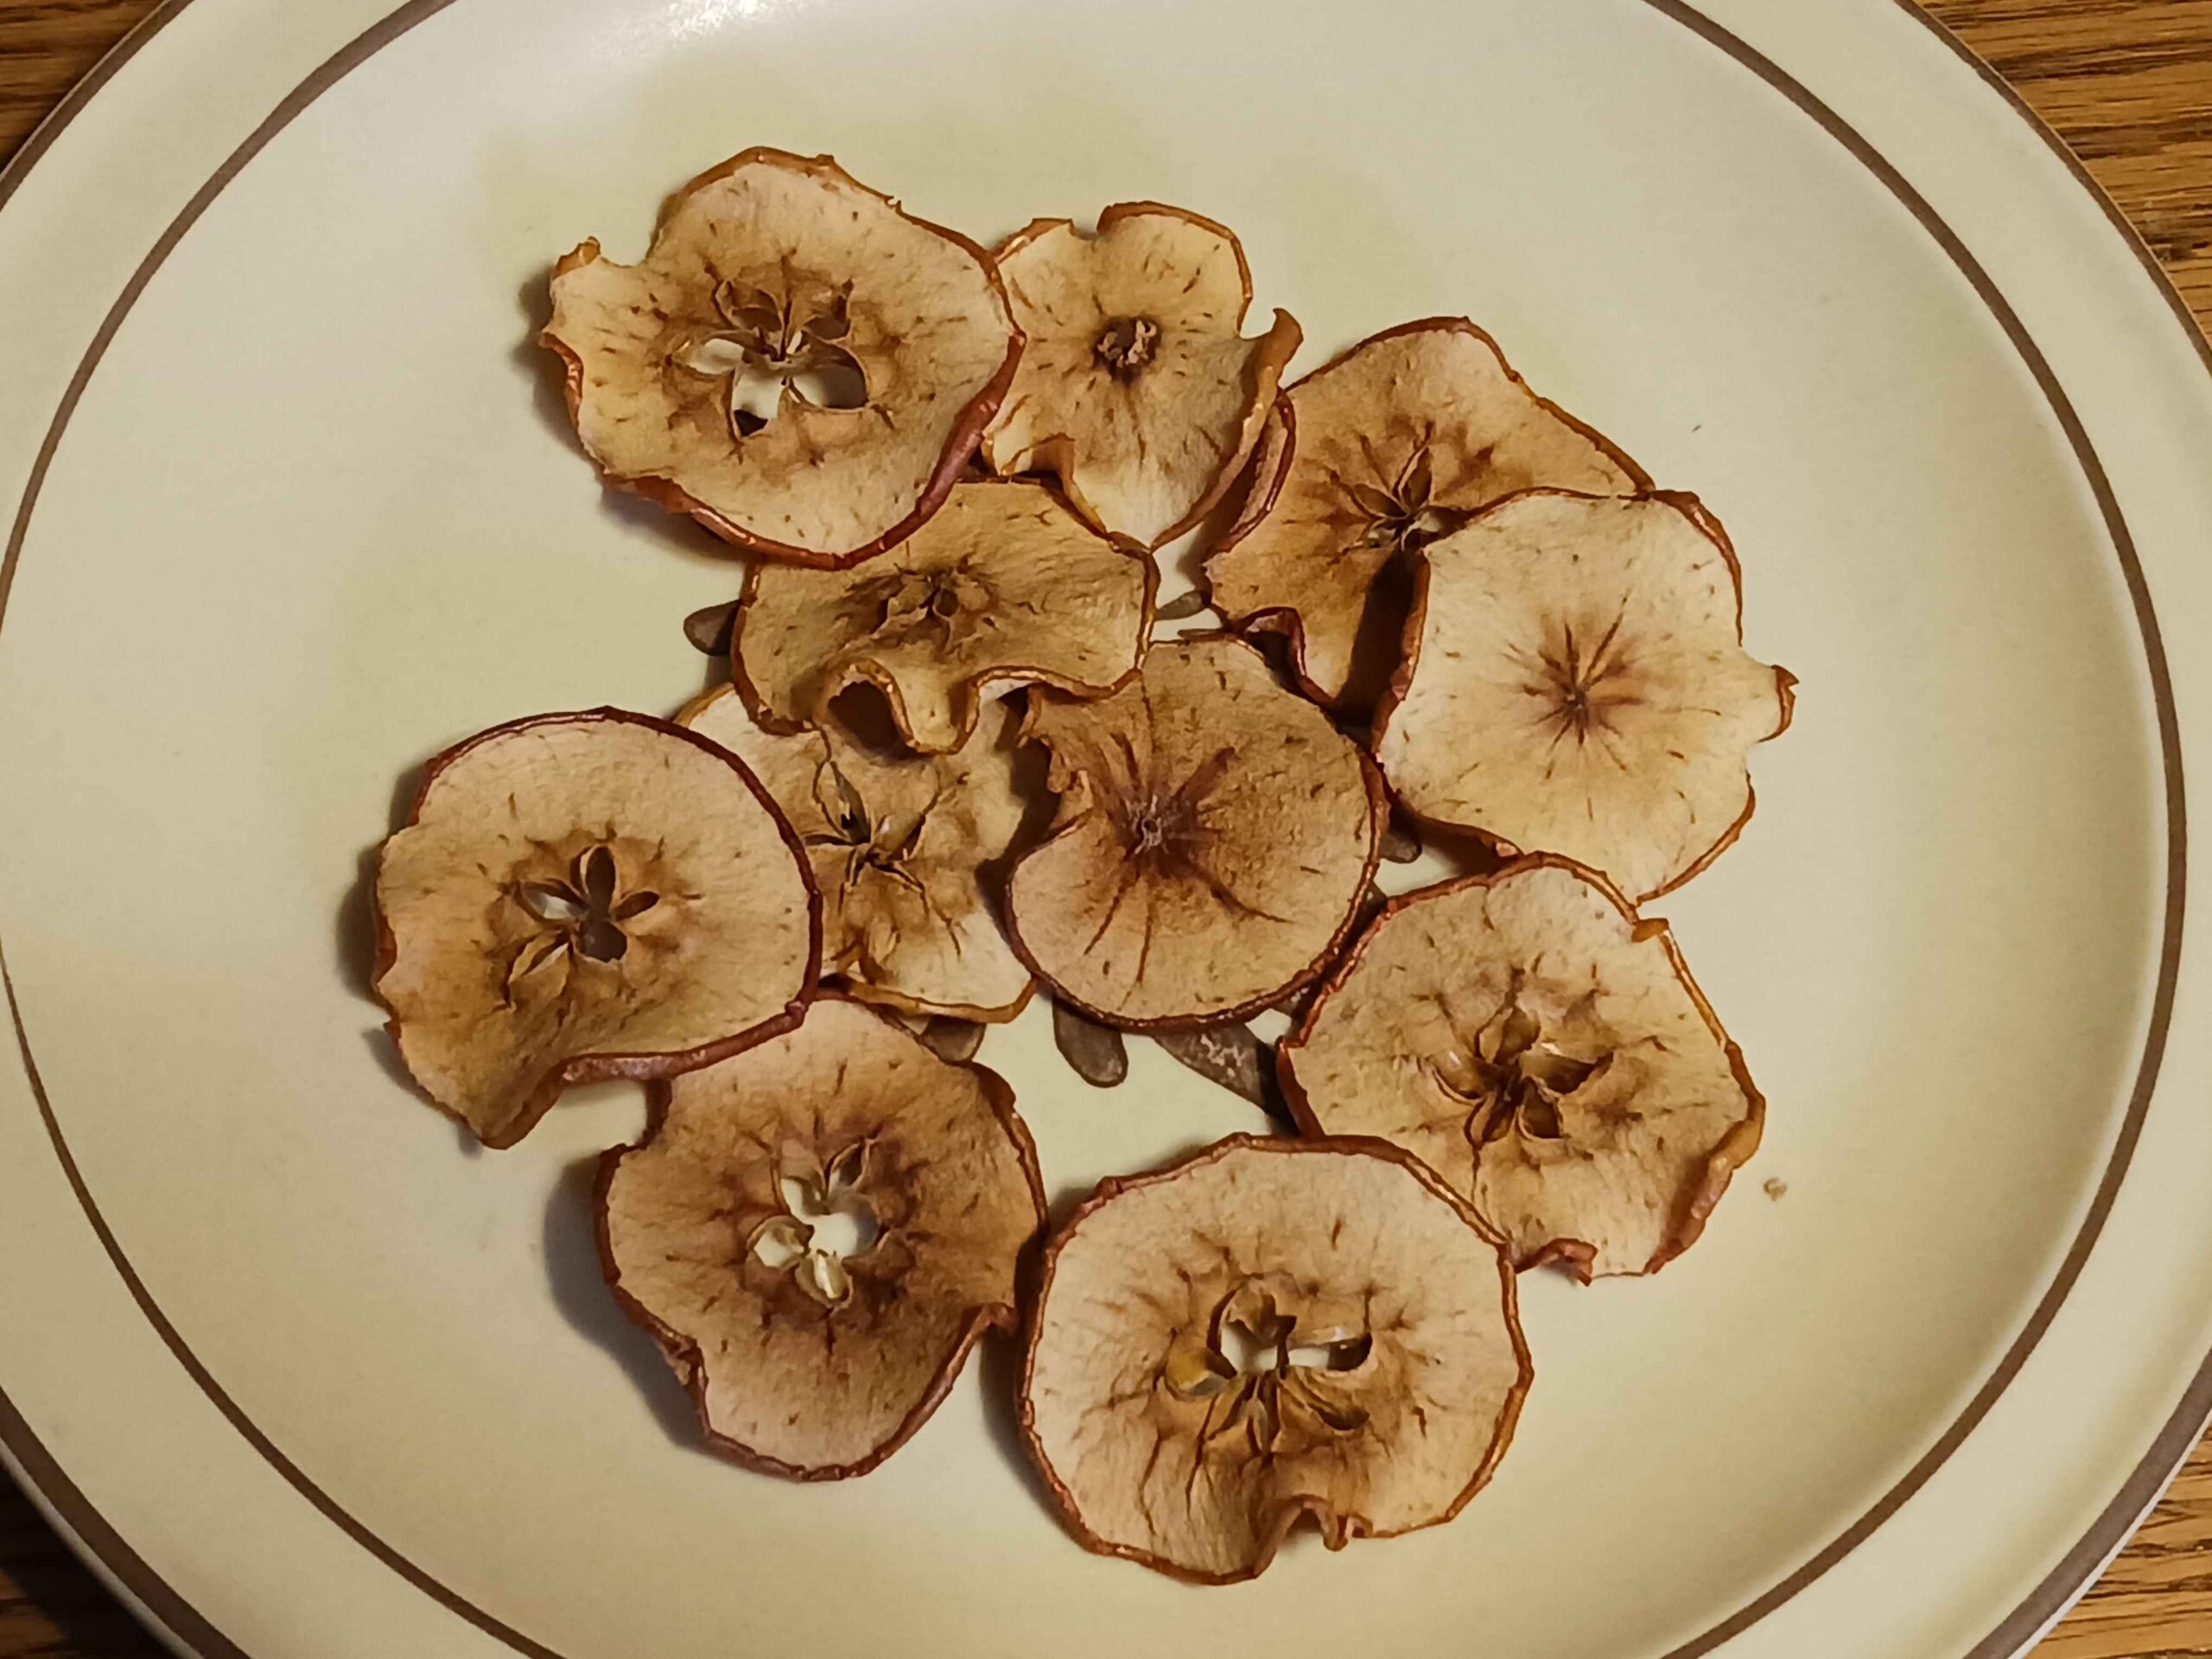
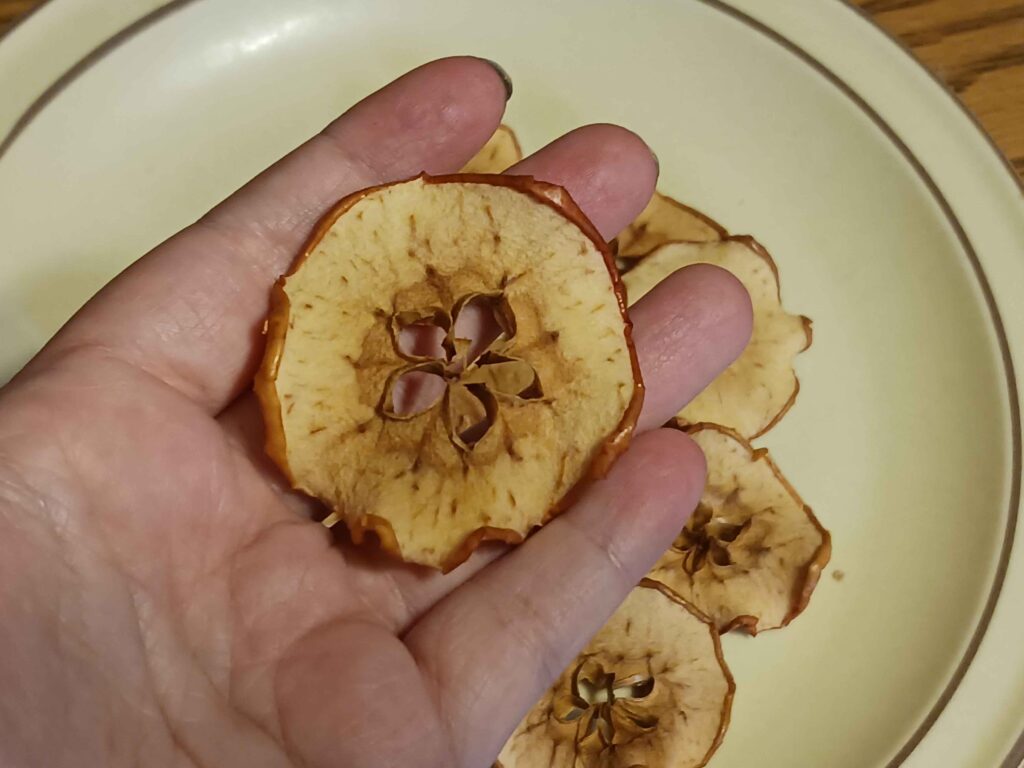
These turned out pretty good, if I do say so myself. It took longer than the 2-2.5 hours that I read that it would but my slices aren’t uniform or very thin and my house/location is super humid on a good day so your experience may vary.
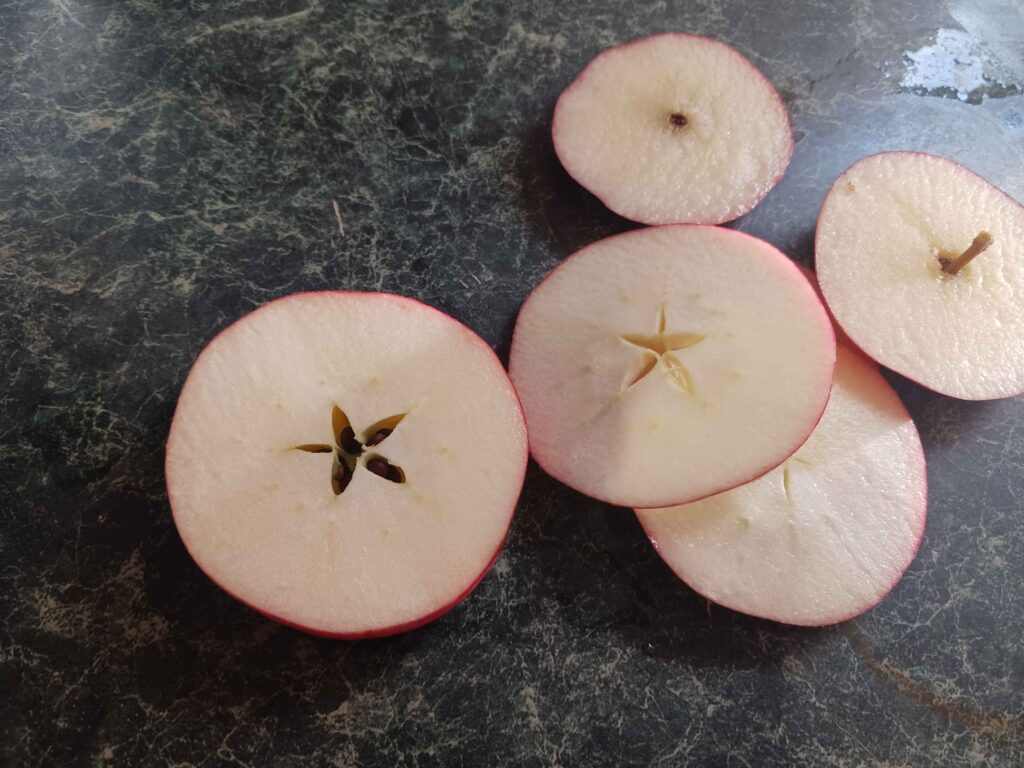
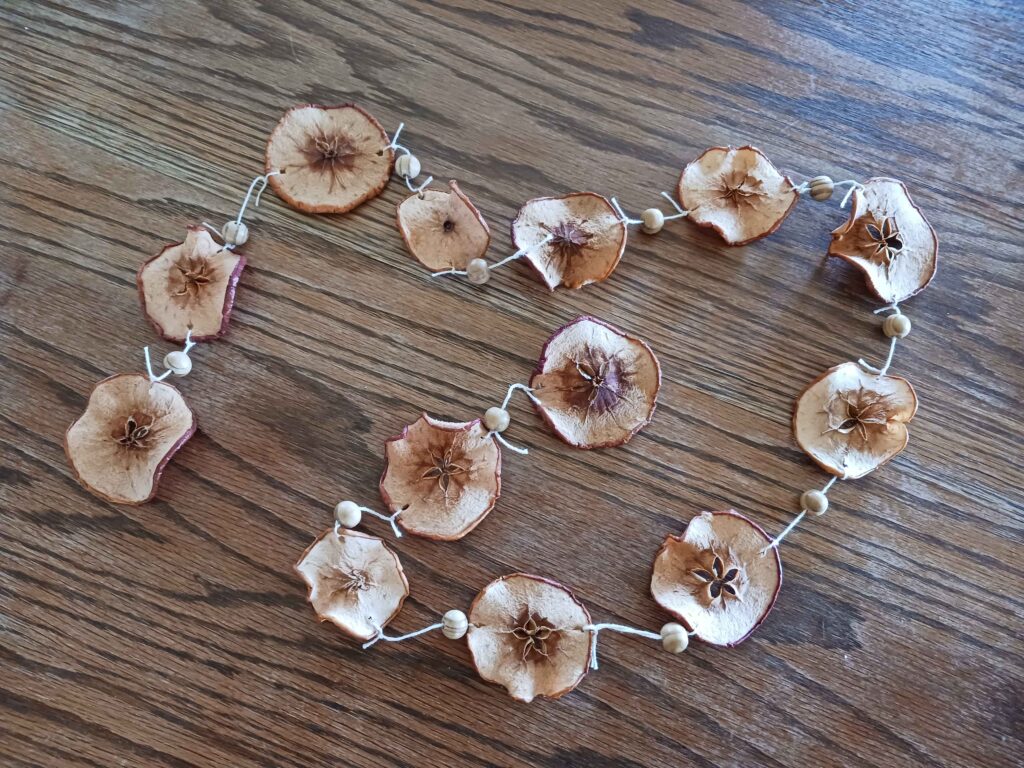
I cut them horizontally so that the star in the center was evident and, once dried, strung them on ivory crochet cotton with some wooden beads. Granny said they’d look more festive with red beads and I think she’s right but I didn’t have any. I suggest it here if you’re looking for ideas.
While the apple slices dried faster (and prettier) than my later orange slices, they soak up moisture from the air a lot faster. Within a few hours of hanging these were already soft and pliable. I don’t foresee them lasting past Halloween sadly. Again, my house and area are very humid this time of year so yours might last longer.
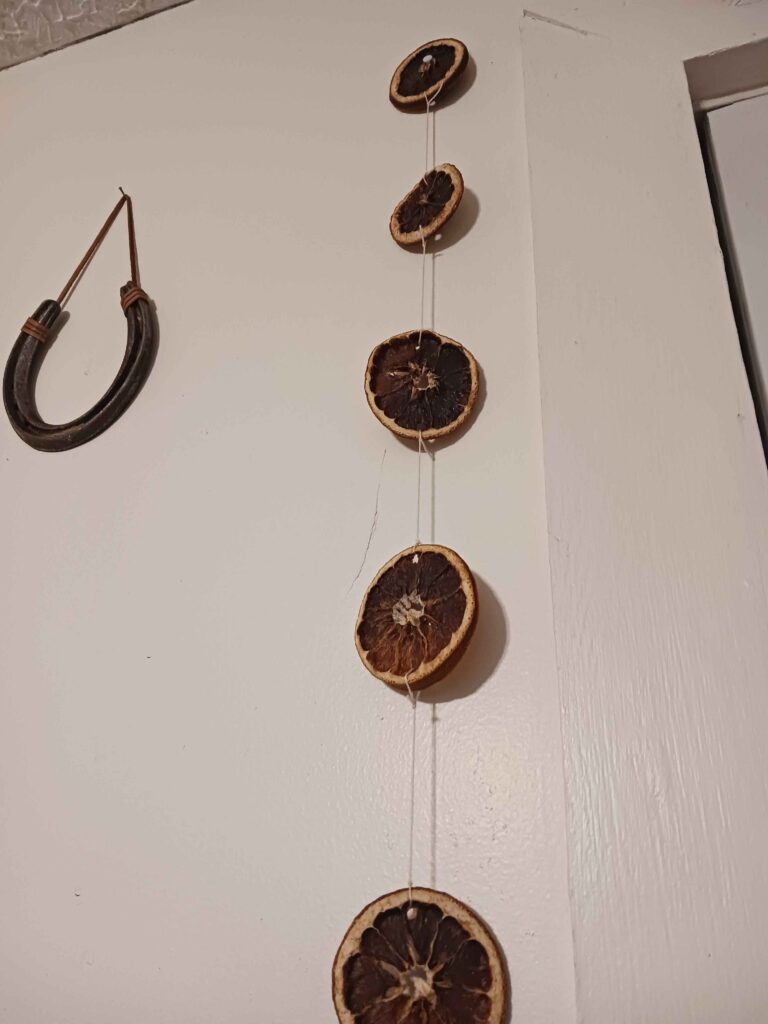
Dried Orange Slice Garlands
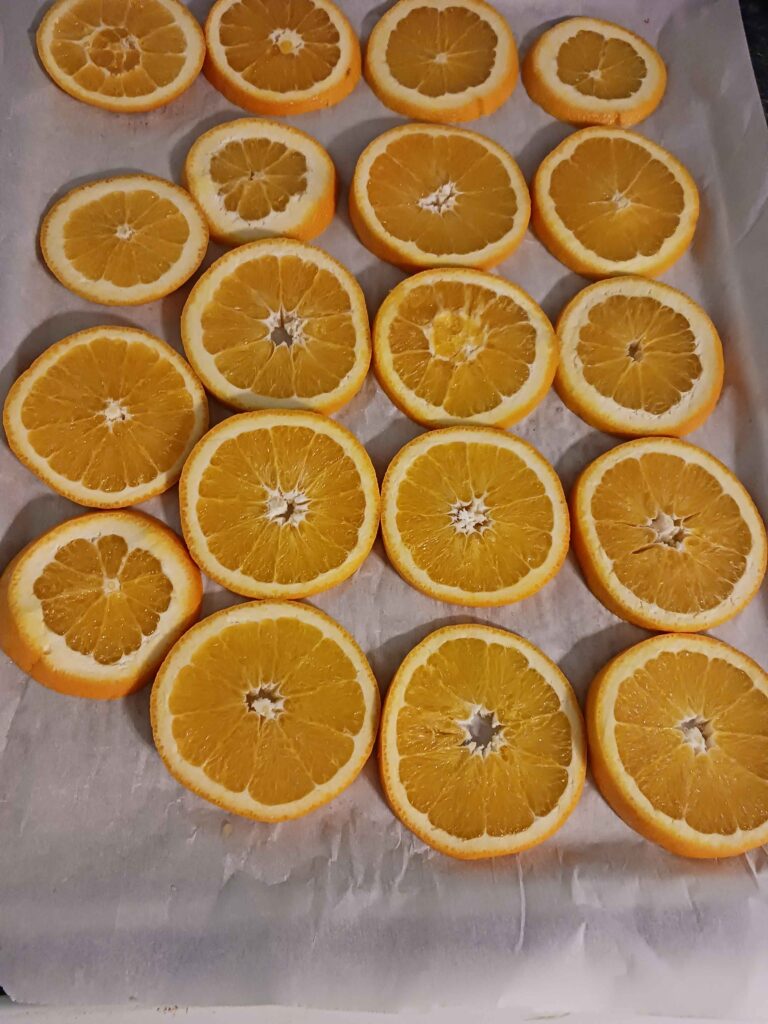
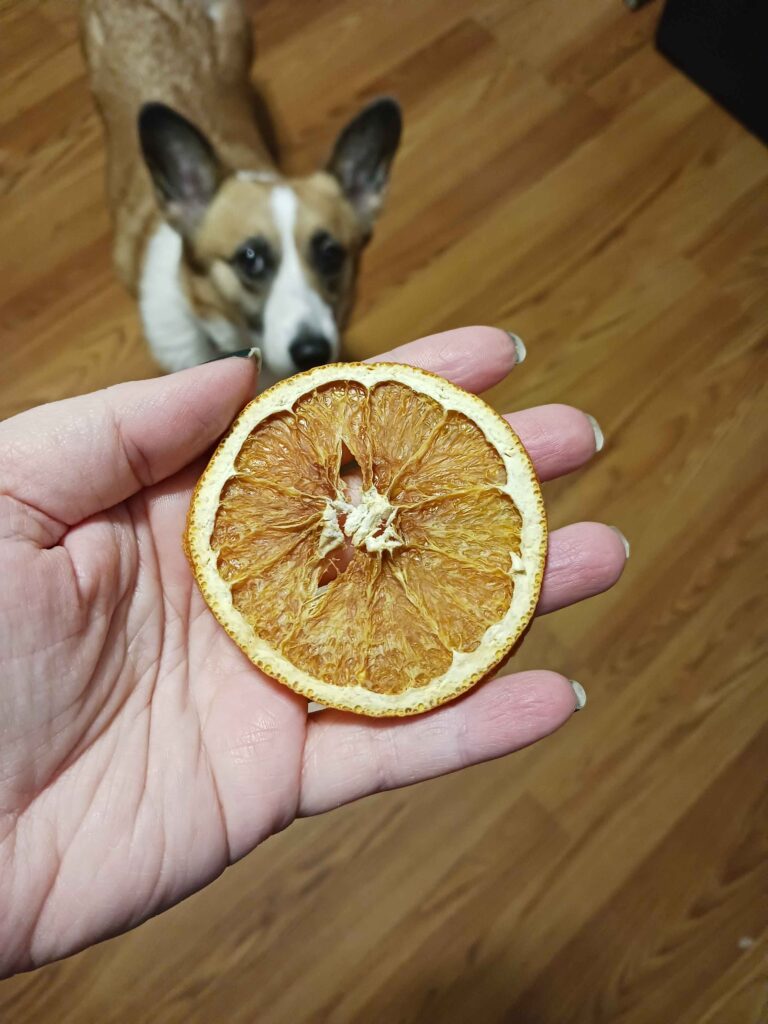

I was actually more excited about these than the apples after seeing so many pictures online. I also expected this to fill the house with a subtle orange fragrance while drying. Neither worked out so well for me…as you can see.
While I did the same thing with these as I did the apples, I didn’t get them to slice as thinly and they took much, much longer…then most of them burned in the last rounds of drying. I think if I can get them thinner and more uniform, this will go much easier and I plan to try again.
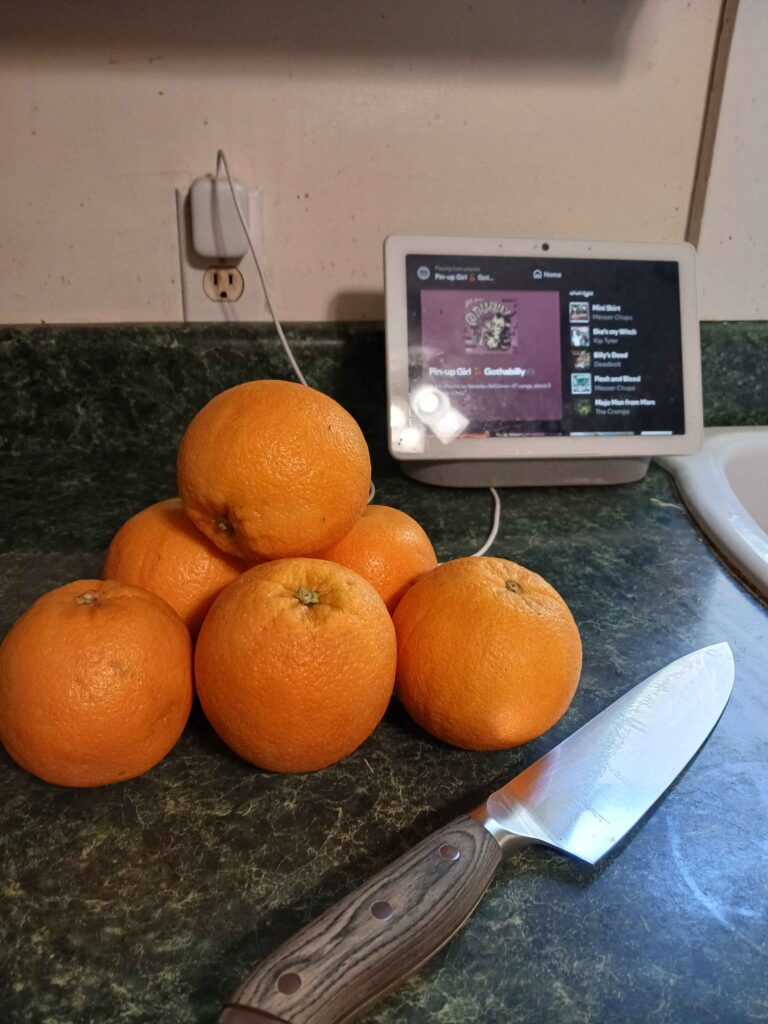
How to Dry Fruit Slices for Garlands
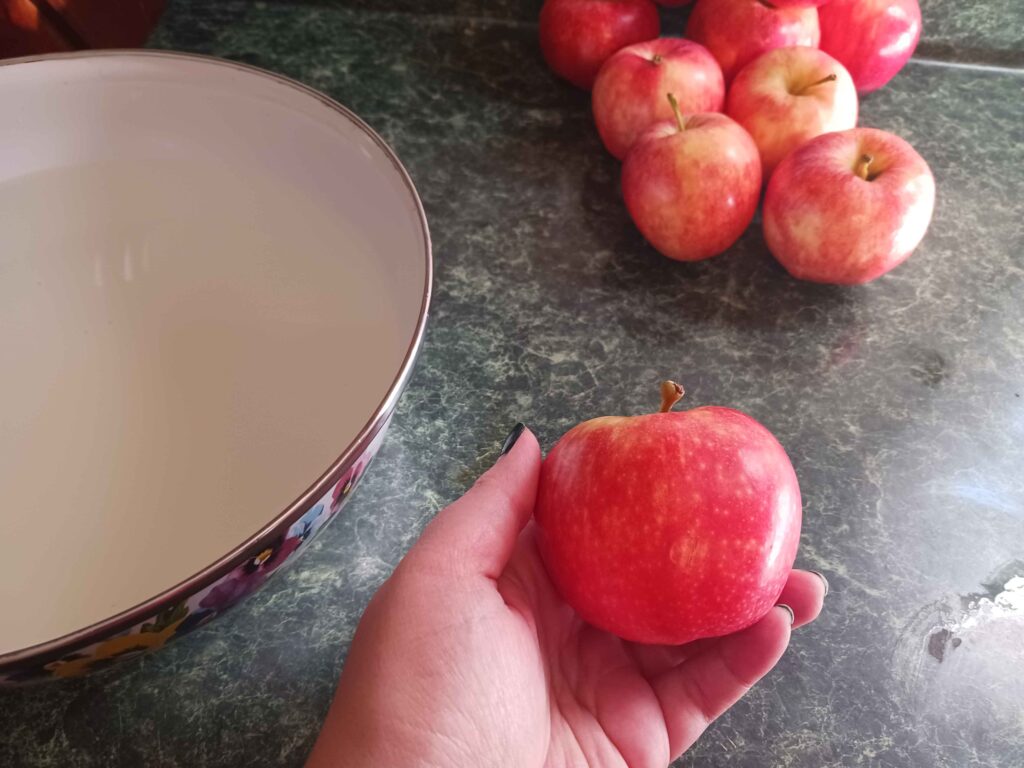
- Choose unripe fruit. The harder and more stiff the fruit, the better.
- Slice as Thinly and Evenly as possible.*
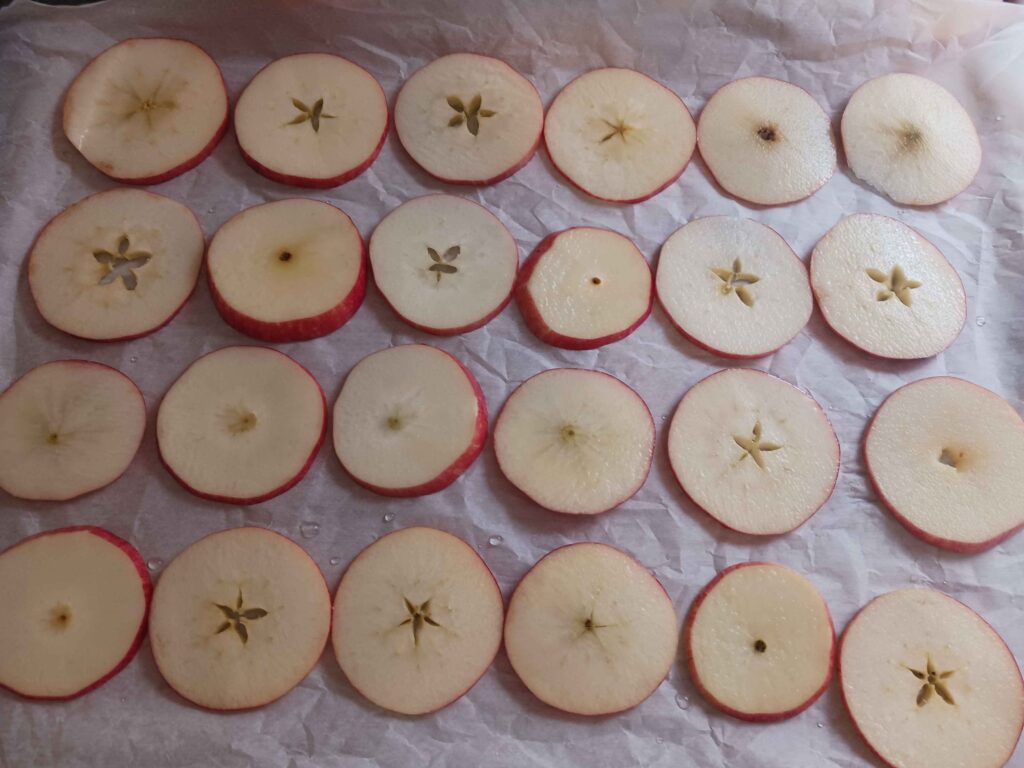
- Lay out in one layer on a baking lined with parchment paper.
- Pat try with a towel or papertowels.
- Put in oven at 200F
- Check and turn them over every 30 minutes for an even dry and to (attempt to) avoid burning.
- Dry like this until no moisture is left and the slices are completely crisp – not sticky!
*I did not get my slices as thin or even as I would like. If you have a mandolin slicer, I would highly recommend using one. I will be getting one before I attempt to make these again. If you don’t have a slicer, make sure your knife is very sharp.
Like I said, I plan to try this again once I have better tools. I will update here when I do so. Let me know how it worked out for you and if you have any further tips!